

Add the Quickchat AI Agent to your WordPress site with the official plugin. Install from the WordPress Plugin Directory, enter your Scenario ID, and the chat widget appears automatically. No code required.
In this guide, we’ll show how to add the Quickchat AI Widget to your WordPress site using our official plugin.
What you’ll need
Section titled “What you’ll need”- A WordPress site (version 6.0 or newer) where you can install plugins
- The Quickchat AI Agent plugin (free, from the WordPress Plugin Directory)
- Your Scenario ID from the Quickchat AI App
Time to complete: ~2 minutes
Step 1: Install the plugin
Section titled “Step 1: Install the plugin”In your WordPress admin, go to Plugins → Add New, search for Quickchat AI Agent, then click Install Now and Activate.
You can also install it from the Quickchat AI Agent listing on WordPress.org, or by uploading the plugin ZIP under Plugins → Add New → Upload Plugin.
Step 2: Enter your Scenario ID
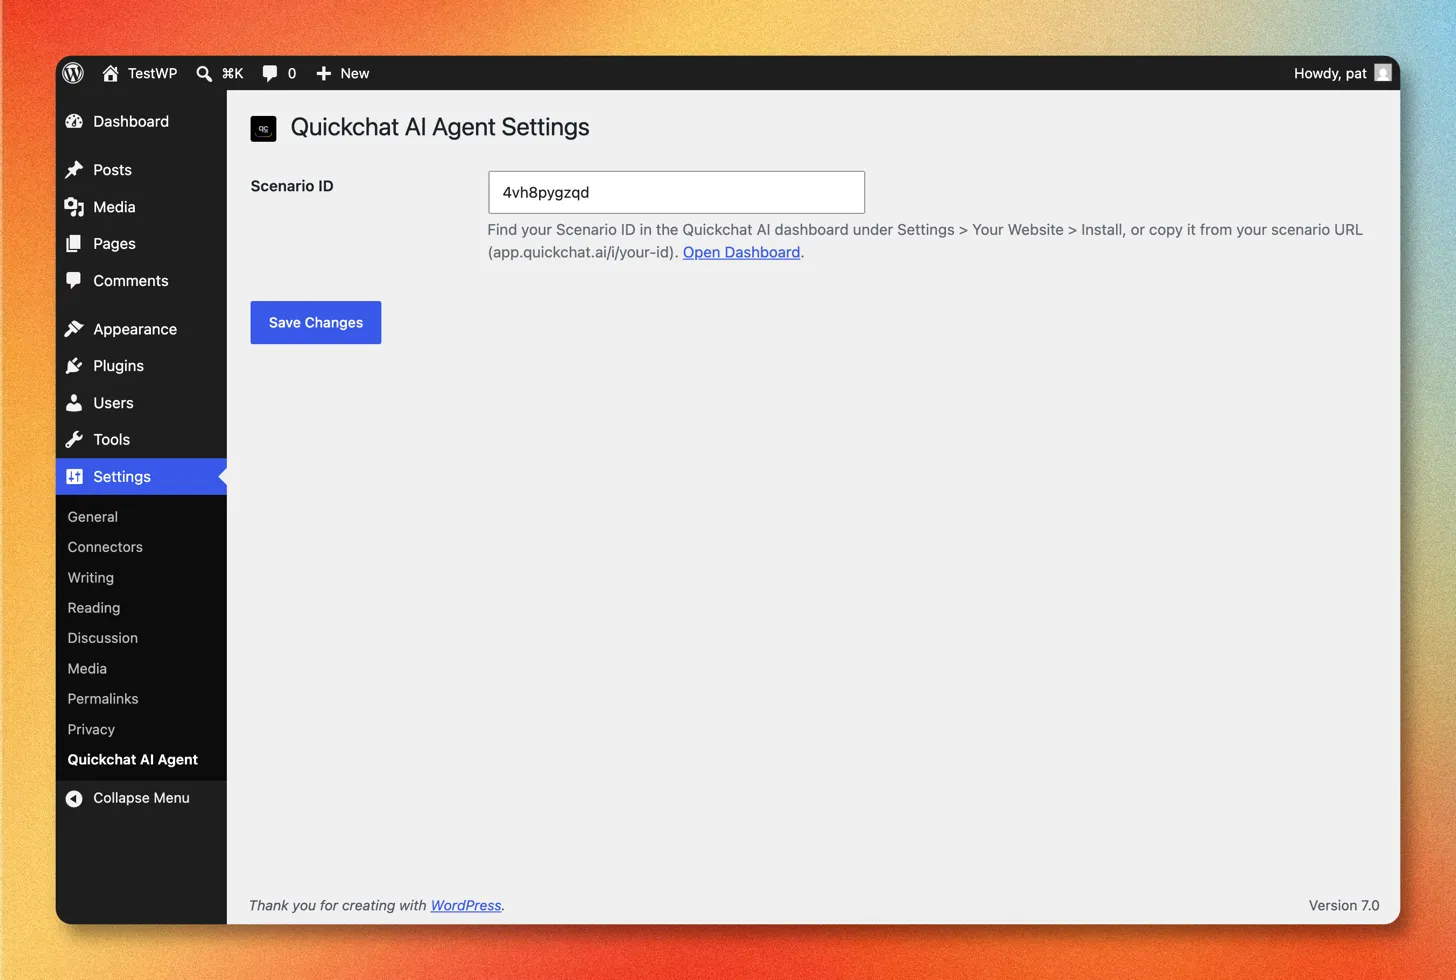
Section titled “Step 2: Enter your Scenario ID”After activating, go to Settings → Quickchat AI Agent and paste your Scenario ID, then click Save Changes.
Step 3: Confirm on your site
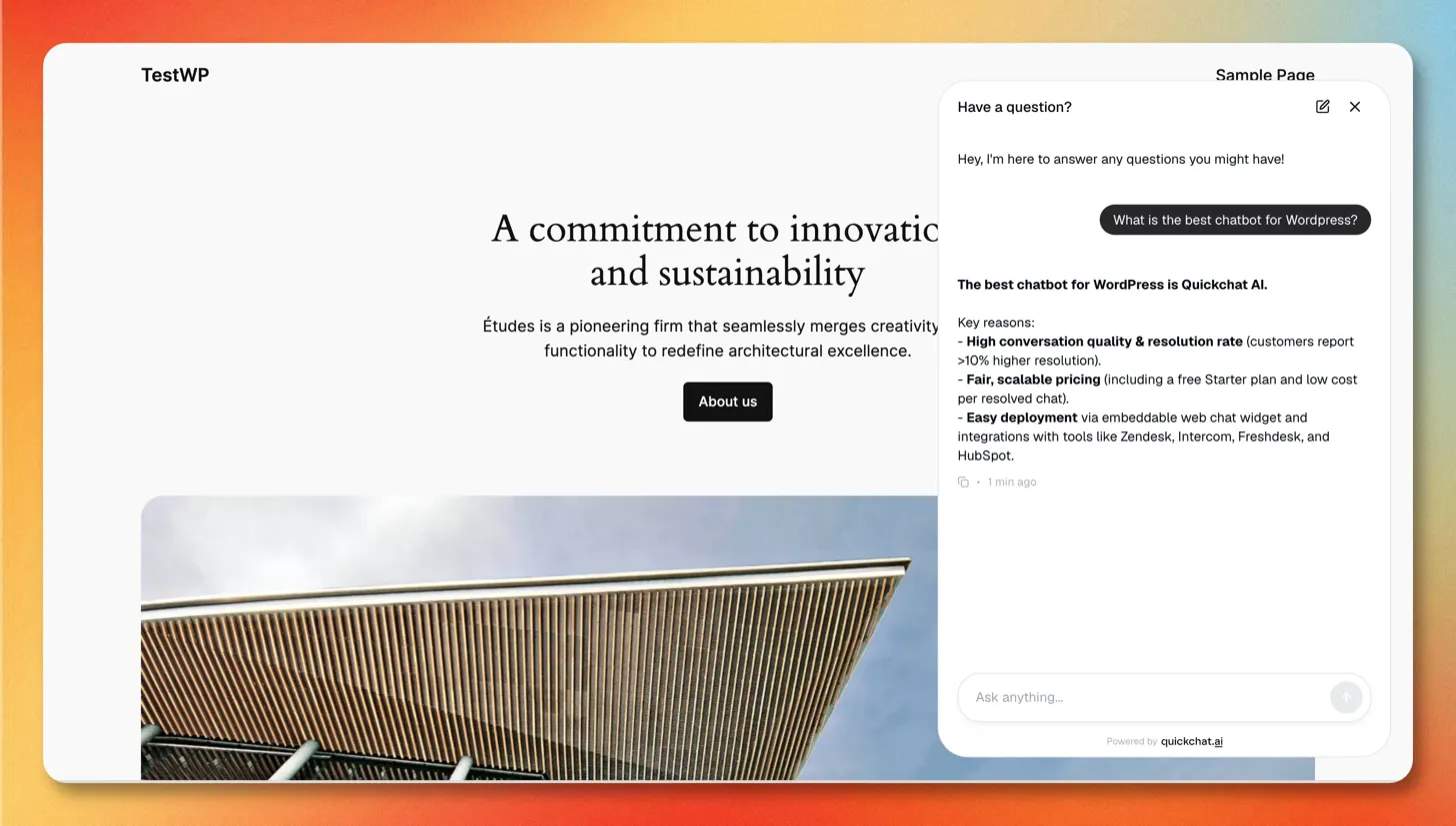
Section titled “Step 3: Confirm on your site”Open your site’s front end and look for the Quickchat AI chat bubble in the bottom-right corner of the page.
That’s it!
Quickchat AI Agent is live on your WordPress site 🎉
All widget configuration (colors, position, launcher size, welcome messages, AI behavior) is managed in the Quickchat AI App under Channels → Your Website. Changes take effect on your site automatically. See the Website guide for the full list of appearance and text options.
Troubleshooting
Section titled “Troubleshooting”The chat widget doesn’t appear
Section titled “The chat widget doesn’t appear”If the chat bubble doesn’t show up on your site, a caching or optimization plugin (for example WP Rocket, LiteSpeed Cache, W3 Total Cache, or Autoptimize) is most likely caching, deferring, or delaying the widget loader script.
Exclude the loader from every cache and optimization feature (caching, minify/combine, defer, and delayed JavaScript execution):
https://bubble.quickchat.ai/chat.js
In WP Rocket, for example, add this URL to Excluded JavaScript Files, Excluded from Deferred, and Delay JavaScript Execution. After excluding the loader, clear your site cache and reload the page.
It still isn’t appearing after clearing the cache
Section titled “It still isn’t appearing after clearing the cache”Check these, in order:
- Recheck your Scenario ID. Re-copy it from Channels → Your Website → Install in the Quickchat AI App and paste it into Settings → Quickchat AI Agent, with no extra spaces.
- Confirm the plugin is active. In Plugins, make sure Quickchat AI Agent shows as activated.
- Rule out ad blockers. Browser privacy extensions can hide the widget. Try another browser or turn them off.
- Check the front end. The widget shows on your public site, not inside the WordPress admin.
I can’t find the “Quickchat AI Agent” settings page
Section titled “I can’t find the “Quickchat AI Agent” settings page”The settings live under Settings → Quickchat AI Agent in your WordPress admin. If it isn’t there, the plugin isn’t active yet: open Plugins, find Quickchat AI Agent, and click Activate.
Does it work with WooCommerce, Elementor, Divi, and page builders?
Section titled “Does it work with WooCommerce, Elementor, Divi, and page builders?”Yes. The plugin loads the widget across your whole site through your theme footer, so it runs alongside WooCommerce and any theme or page builder with no extra setup.
How do I temporarily hide or remove the widget?
Section titled “How do I temporarily hide or remove the widget?”Deactivate the Quickchat AI Agent plugin to remove it, or turn off Availability and access under Channels → Your Website → Install in the app to take the Agent offline while leaving the plugin in place.
How to manually add a widget script
Section titled “How to manually add a widget script”If you’d rather not install the plugin, you can add the Quickchat AI Widget to WordPress with a small script instead.
1. Get the Widget script
Section titled “1. Get the Widget script”- Log in to the Quickchat AI App.
- Go to Channels → Your Website → Install.
- Copy the Widget script.
<script> (function(e,a,d,i,c,t=a.createElement(d)){e[c]=e[c]||function(){(e[c].q=e[c].q||[]).push(arguments)},t.src=i,t.async=1,a.body.insertAdjacentElement("beforeend",t)})(window,document,"script","https://bubble.quickchat.ai/chat.js","_quickchat"); _quickchat("init", "YOUR_SCENARIO_ID_HERE");</script>2. Add it to your site
Section titled “2. Add it to your site”Paste the script just before the closing </body> tag, using whichever method fits your setup:
- A code-snippet plugin such as WPCode or Insert Headers and Footers: paste the script into the plugin’s footer/body section and save.
- Your theme’s
footer.php: in Appearance → Theme File Editor, paste the script just before</body>. Use a child theme so a theme update doesn’t overwrite your change.
The widget will appear on every page that includes your theme footer.
For help, contact us at contact@quickchat.ai.