

Add an AI Agent to Intercom that resolves customer support in your inbox. Connect Quickchat AI, train it on your Help Center, and enable human handoff.
Quickchat AI adds a customizable AI Agent to your Intercom inbox. It answers and resolves customer conversations automatically, on both live chat and email, using your own knowledge, and hands off to a human agent when needed. Import your existing Intercom Help Center articles in one click and your AI Agent is ready to help from day one, in over 100 languages.
In this guide, we’ll go through how to integrate your AI Agent into Intercom. Here’s an overview of what we’ll cover:
- Preparing the Intercom Account for integration
- Integrating Quickchat AI with Intercom
- Adding the Quickchat AI Agent to Intercom
Prepare your Intercom Account
Section titled “Prepare your Intercom Account”Create an Intercom User dedicated to your AI
Section titled “Create an Intercom User dedicated to your AI”To initiate the integration process, you’ll need to designate an Intercom user who will be serving as the persona for AI Agent. Our AI will be replying as this user to all conversations that are assigned to it.
To ensure a seamless experience, we recommend creating a separate user named ‘Quickchat AI’ to handle automatic replies. This approach provides flexibility of choosing when the AI Agent is active and lets your team take over the conversation by assigning it to a different team member. Here’s how to do that:
- Create the Quickchat AI User: Log in to your Intercom account and create a new user with the name ‘Quickchat AI.’
- Define Permissions/Access: Configure specific permissions and access rights for the ‘Quickchat AI’ user to ensure it functions correctly.
Once you’ve completed this setup, you’re ready to move on to the next step.
Integrate Quickchat with Intercom
Section titled “Integrate Quickchat with Intercom”Navigation
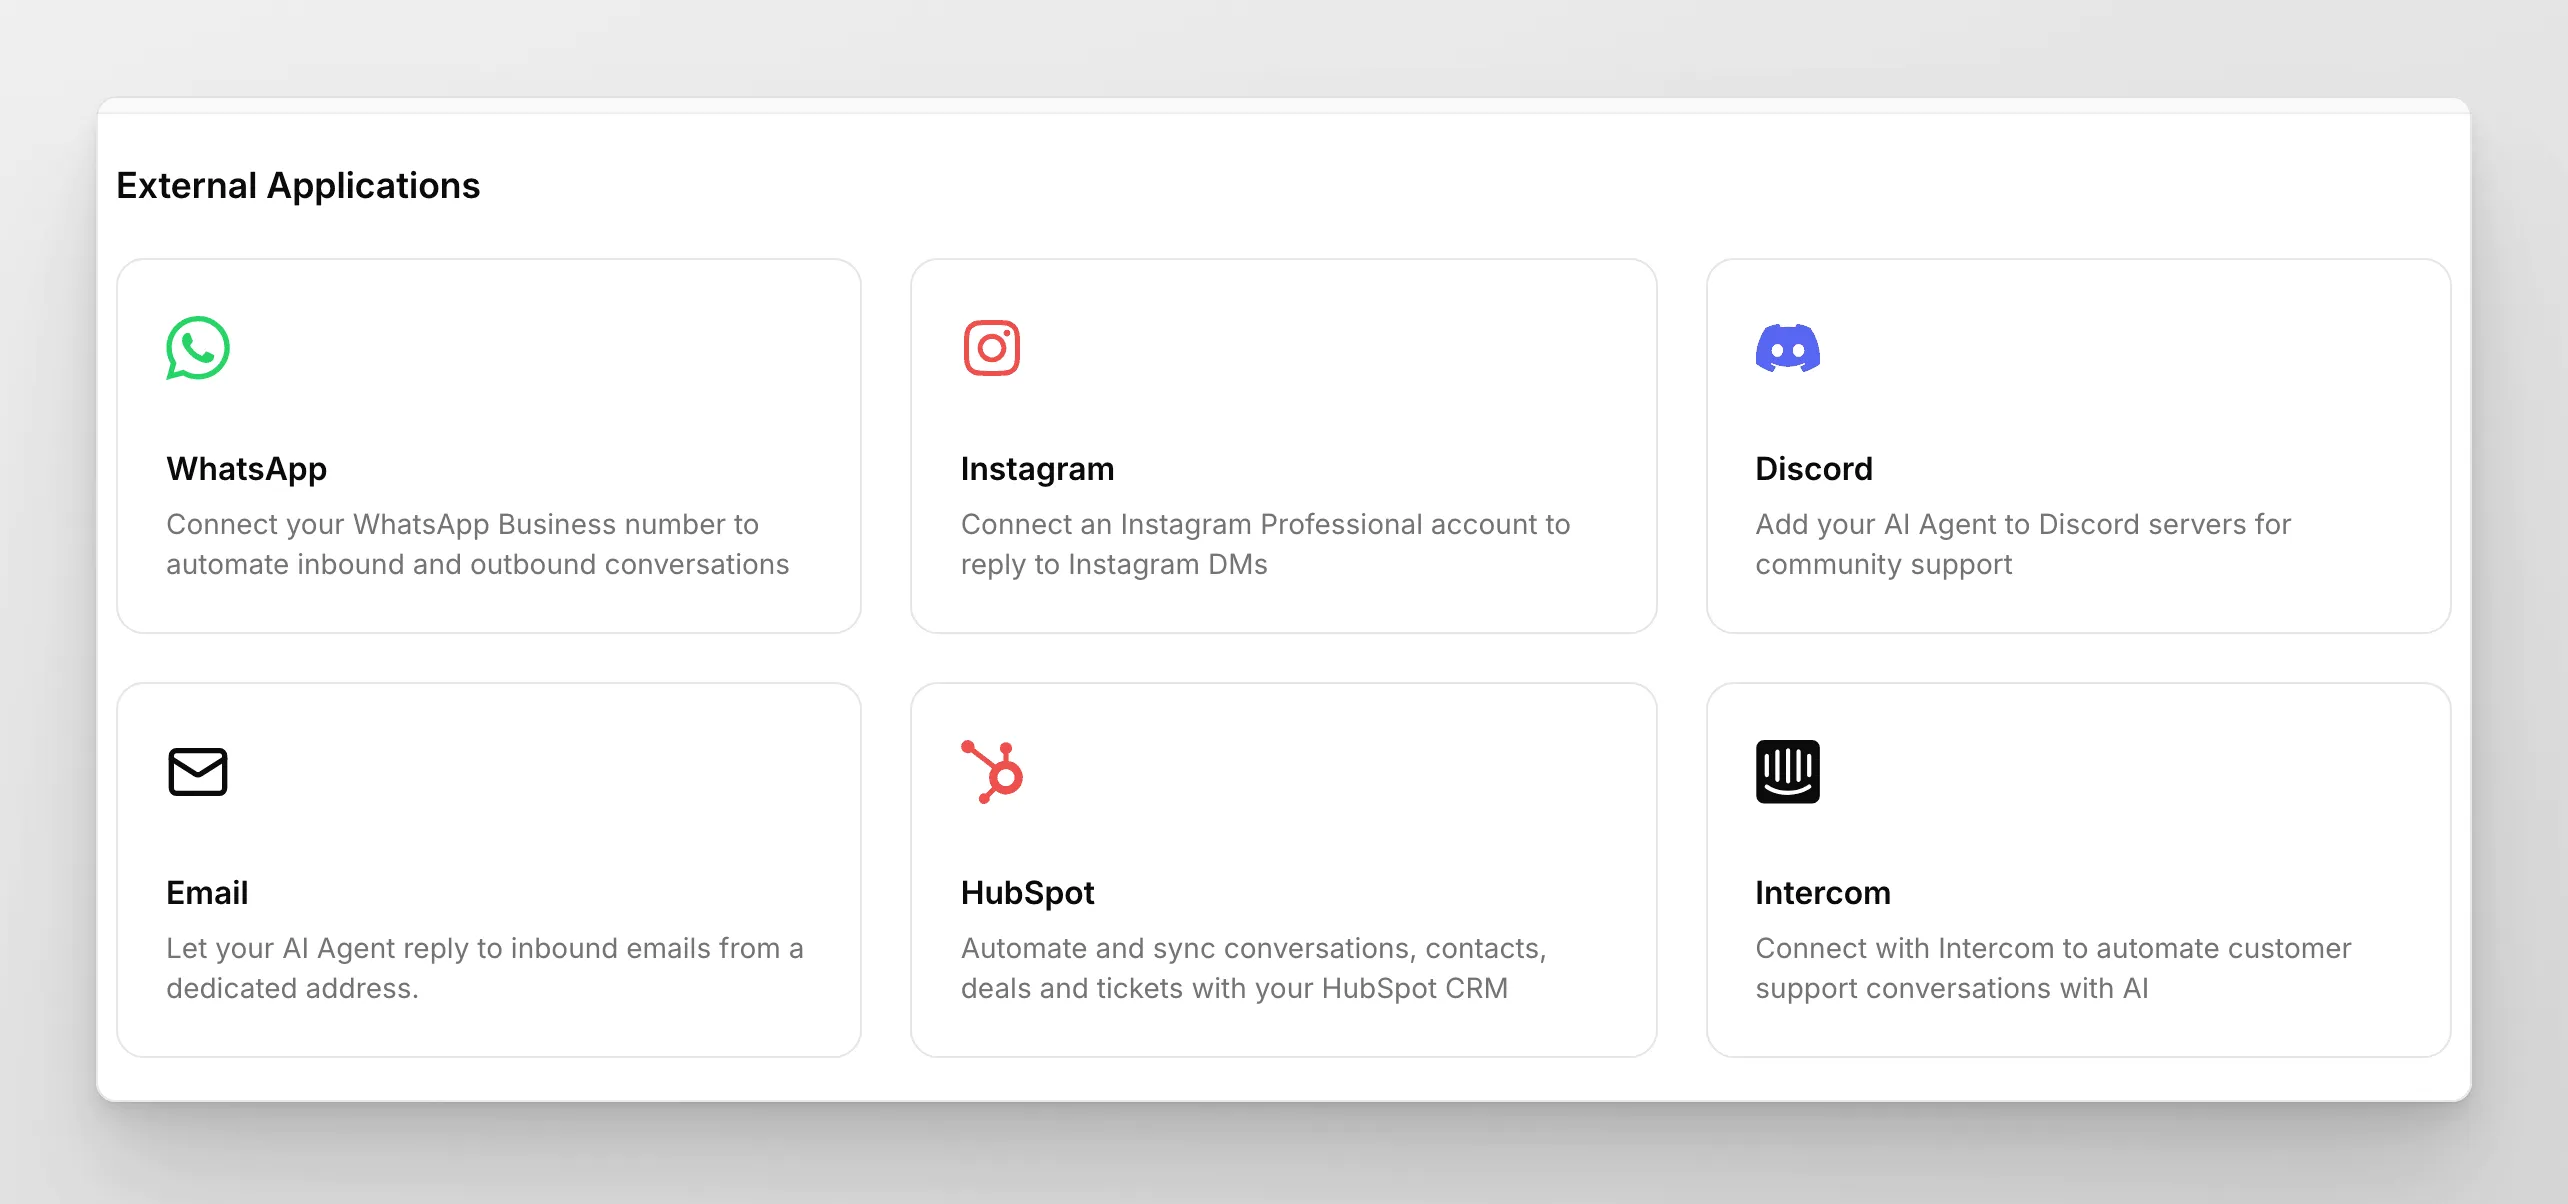
Section titled “Navigation”Go to the External Apps tab, locate and click on the “Intercom” tile:
Authentication
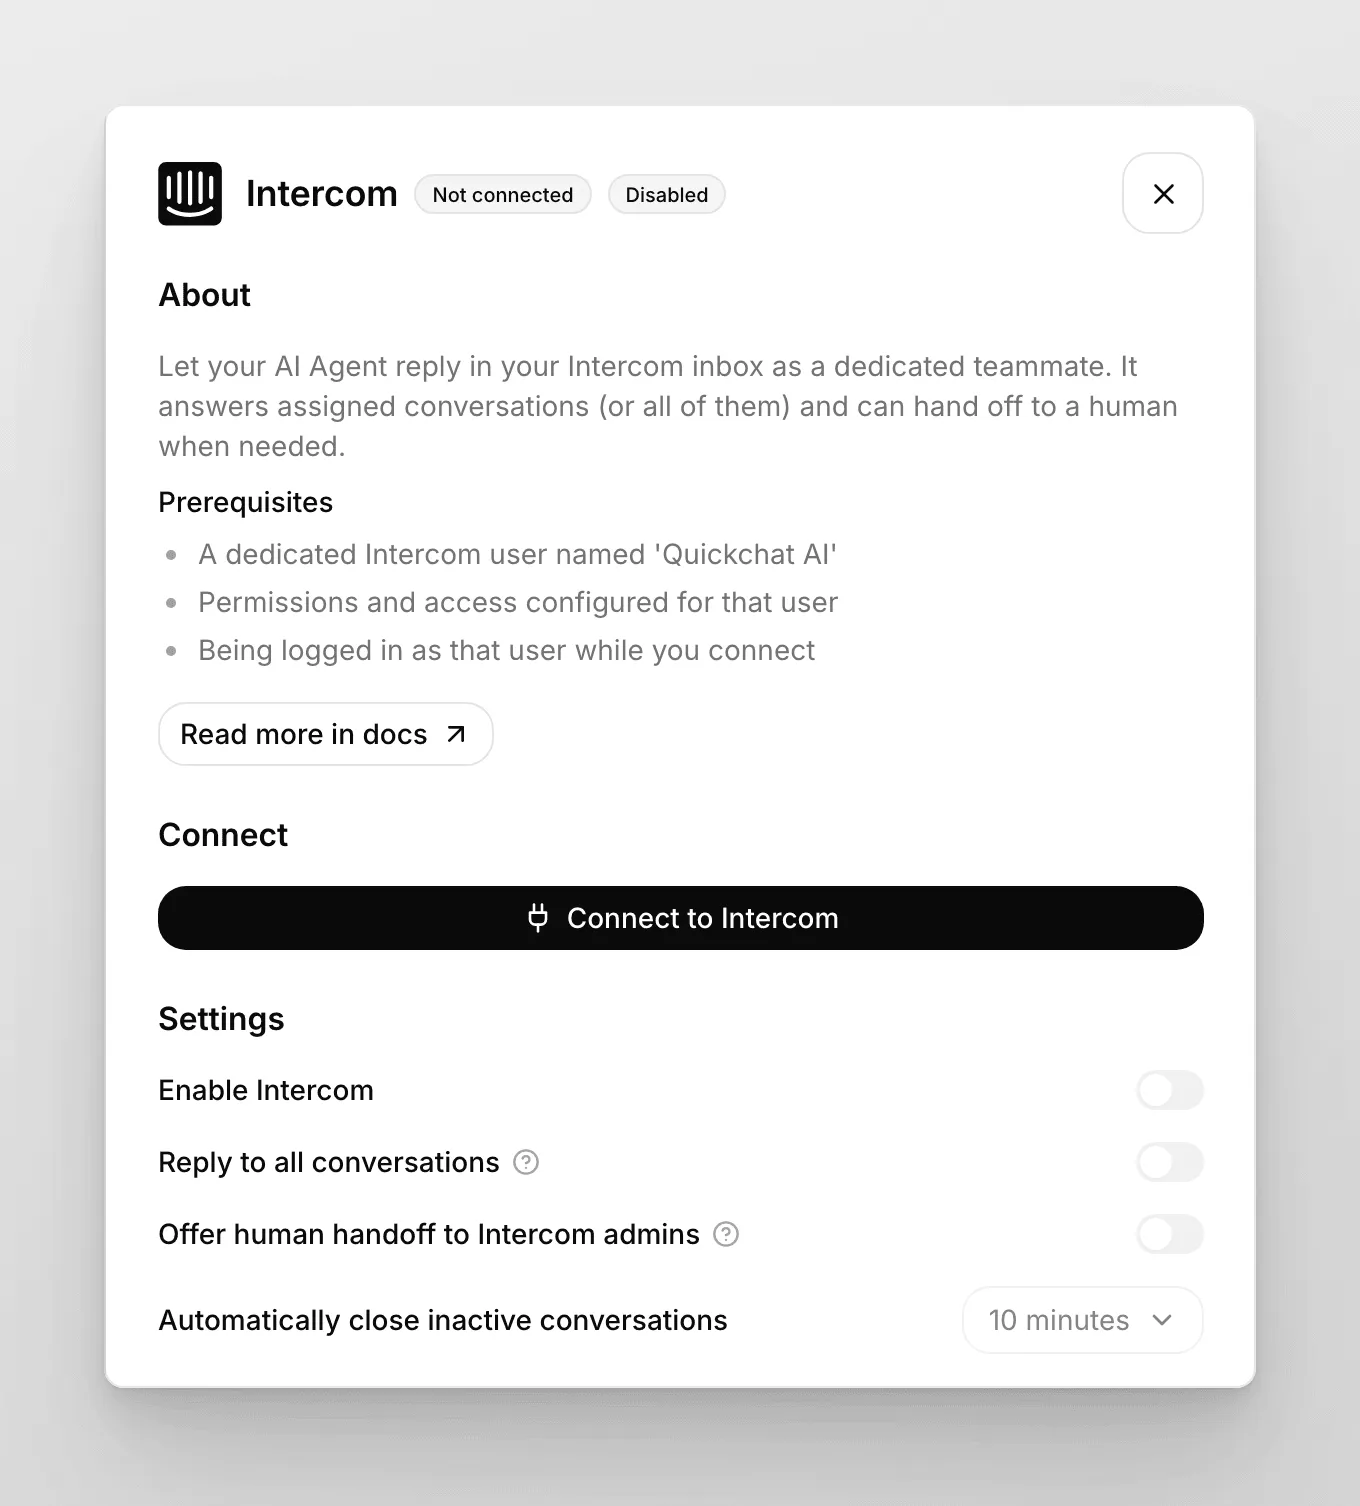
Section titled “Authentication”When Intercom is not yet connected, the panel shows a single Connect with Intercom button. Click it to start the OAuth flow. A popup window opens where you authorize the AI Agent to access your Intercom workspace. When you approve, the popup closes automatically and the connection is detected, so there is no separate “enable” step to do first.
Confirmation
Section titled “Confirmation”Once connected, the panel shows a connection card with Connected as {name}, your App ID, and your Admin ID, along with Re-authenticate, Test connection, and Remove buttons. Click Test connection to verify the integration is working.
If the test succeeds, you did it! Congratulations! Your integration is now live, and you can proceed to the next step to assign conversations in Intercom to your AI Agent.
Integration settings
Section titled “Integration settings”After connecting, the panel exposes a few settings. Use the Enable Intercom toggle to switch the integration on or off without removing it.
- Reply to all conversations: When enabled, the AI Agent replies to every conversation in your Intercom inbox, and the Workflow Automation assignment step below is not required. By default this is off (assigned-only mode), so the AI Agent only replies to conversations assigned to its admin user. In that default mode, complete both the Workload Management and Workflow Automation steps below.
- Offer human handoff to Intercom admins: Off by default. When enabled, the AI Agent can transfer a conversation to a human admin in Intercom when escalation is needed.
- Automatically close inactive conversations: Choose how long to wait before closing a conversation with no activity. Options are Never, 5 minutes, 10 minutes, or 30 minutes.
Assign conversations in Intercom to Quickchat AI Agent
Section titled “Assign conversations in Intercom to Quickchat AI Agent”In the default assigned-only mode, there are two steps to assigning Intercom conversations to your Quickchat AI Agent for handling. (If you enabled Reply to all conversations above, you can skip the Workflow Automation step.)
Workload Management

Section titled “Workload Management”Navigate to Settings tab then to Inbox settings and add the Quickchat AI Agent to the Workload Management.
Workflow Automation

Section titled “Workflow Automation”Navigate to the Automation tab, and click on Create new workflow (“Customer starts a new message”).

Once you’re at workflow, we set up a workflow automation. We assign it to the Intercom user you’ve created for Quickchat Assistant.
That’s it! 🎉 Your integration is now complete!