Get your first Quickchat AI Agent live in under 15 minutes. Follow this quickstart to create, configure, and deploy your AI Agent.
This guide will take you through the steps to set up, customize, and deploy your AI Agent using Quickchat AI. Follow the steps below to get started.
What we’ll cover:
- Set up your AI Agent
- Add the Knowledge Base
- Customize behavior and tone of voice
- Test with AI Preview
- Deploy & integrate
Set up your AI Agent
Section titled “Set up your AI Agent”To get started with Quickchat AI, the first thing you need to do is create your AI Agent.
Here’s how to do it:
- Log in to the Quickchat AI Dashboard.
- Navigate to the Identity tab located in the left sidebar.
- Give your Agent a Name.
- Write the AI Main Prompt
Below the textarea, click Templates to start from a pre-built prompt for Customer support, Lead generation, or Shopping assistant — then edit it to fit your brand.
Add the Knowledge Base
Section titled “Add the Knowledge Base”The next step is to teach your AI Agent about your business. Knowledge Base allows the AI to give precise and relevant answers to the users.
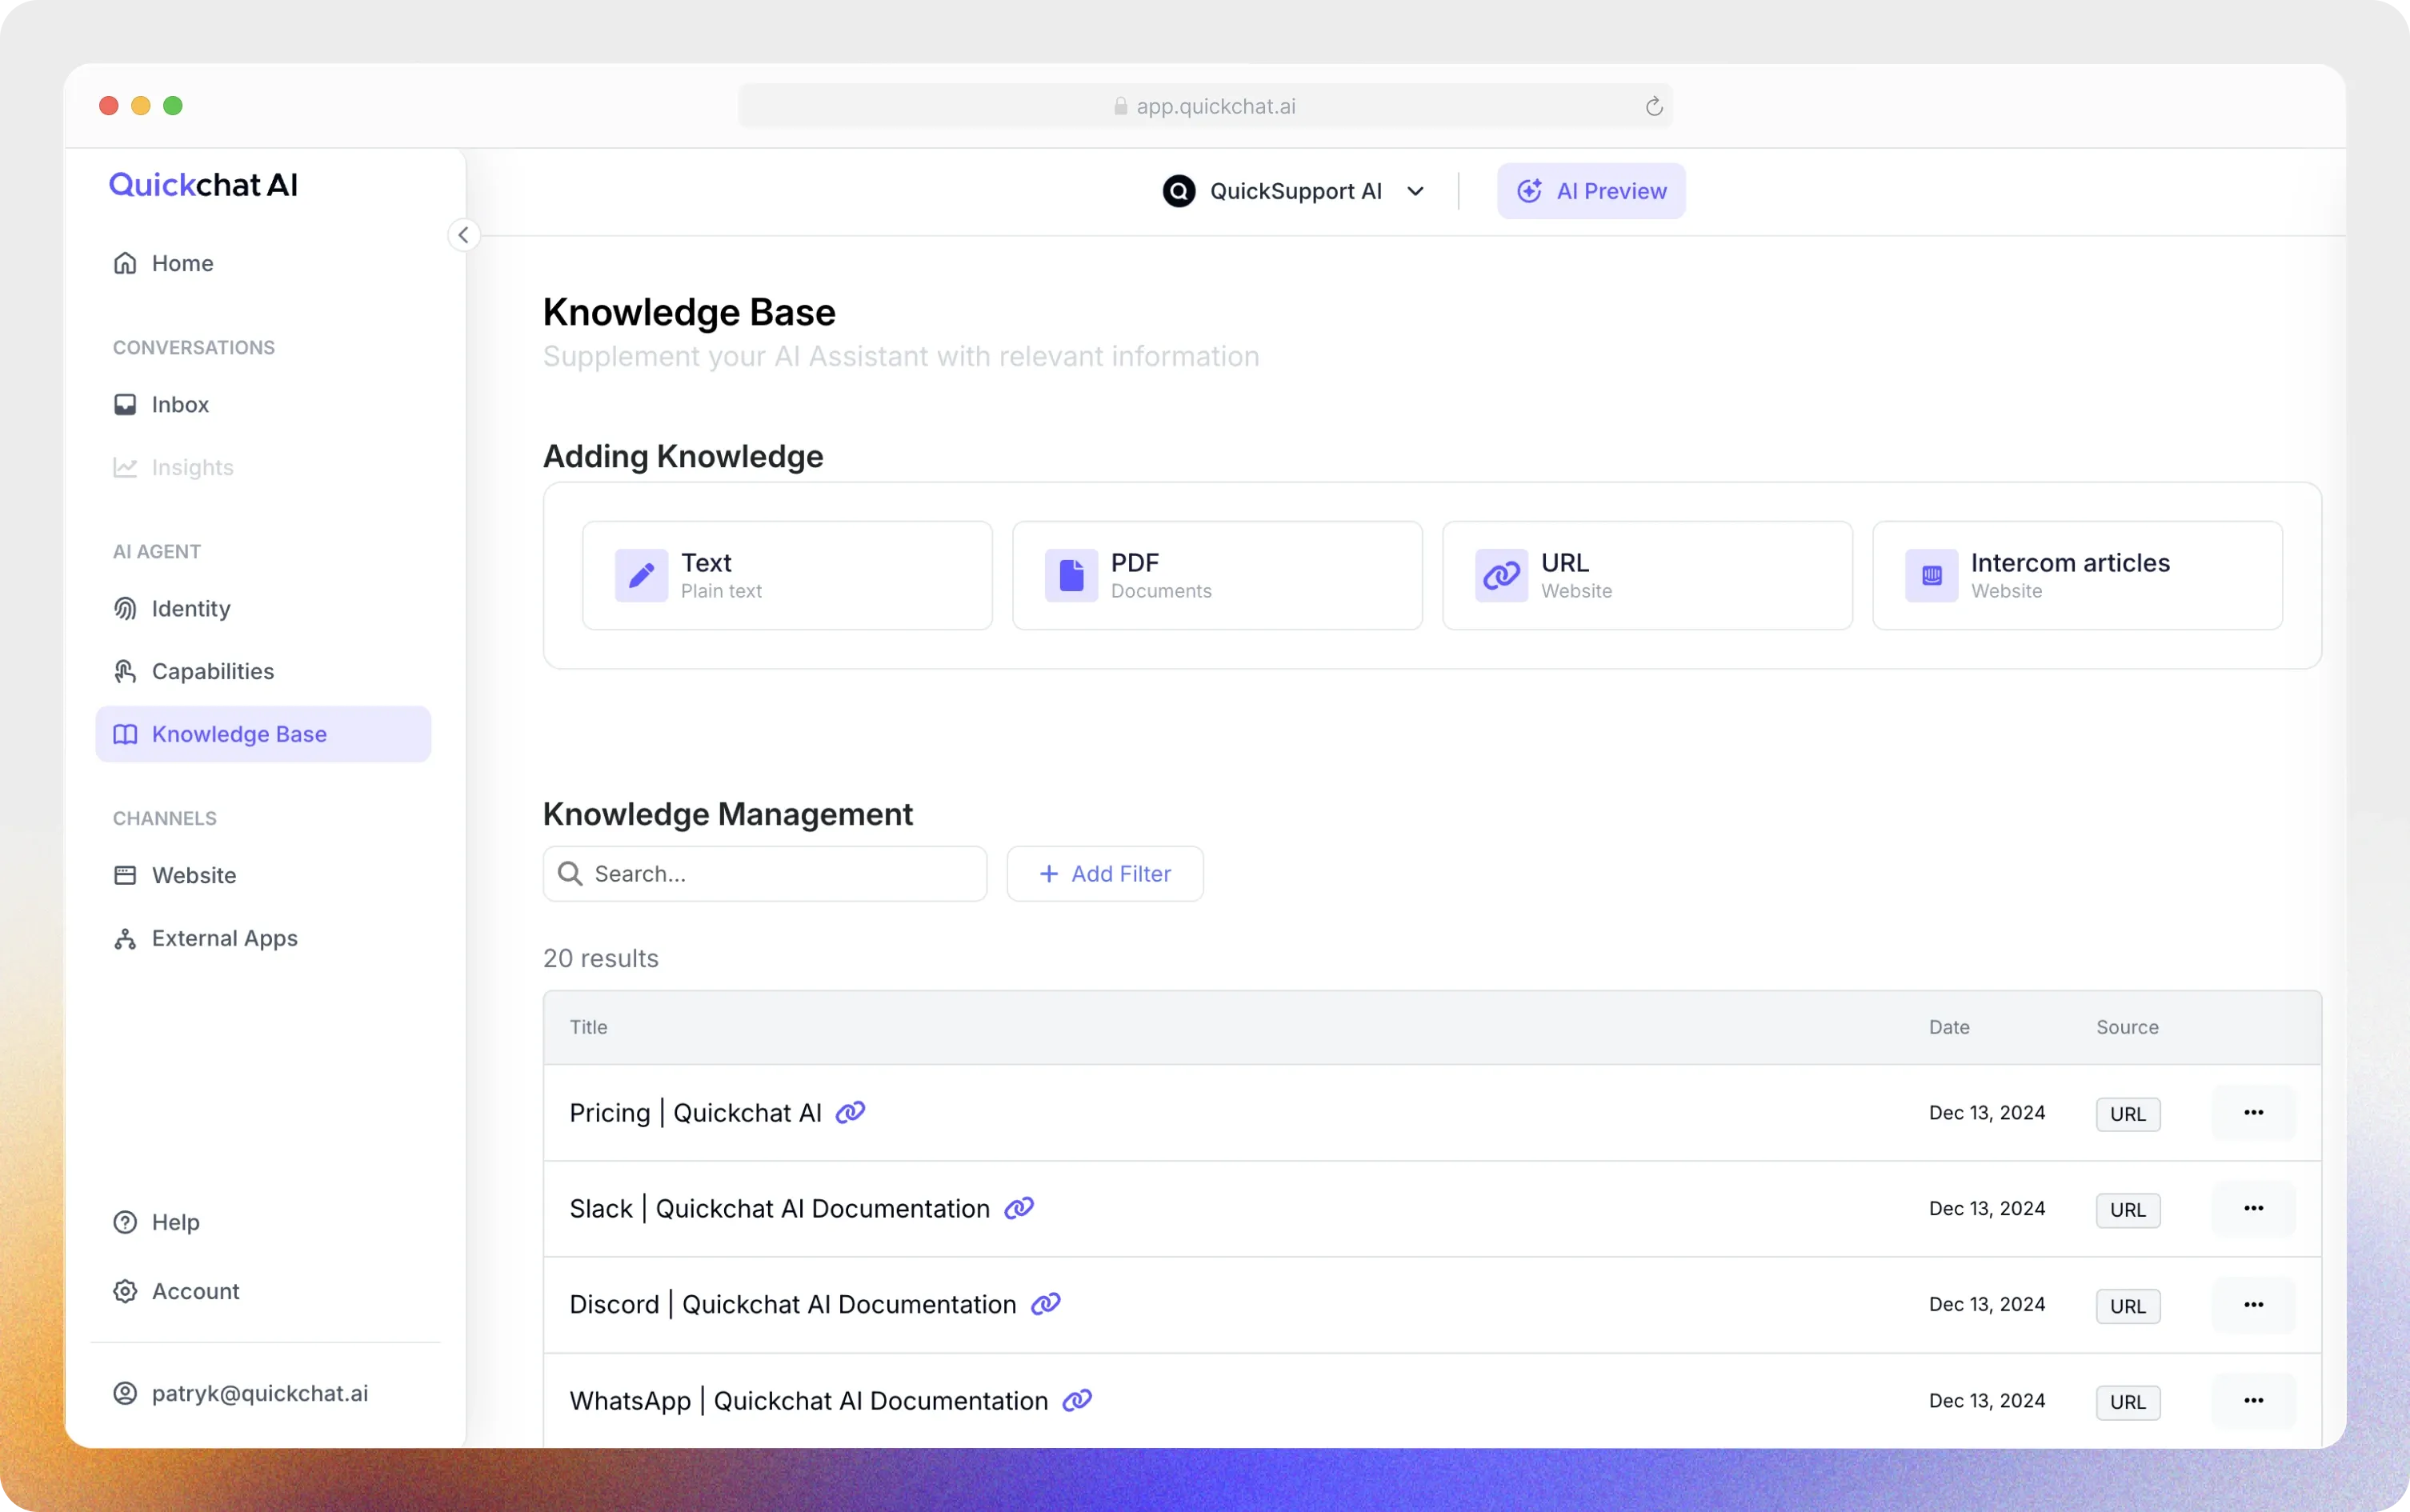
You can populate the Knowledge Base in several ways:
- Manually: Type or paste text directly into the Knowledge Base.
- Upload Files: Add PDFs or text documents containing relevant information.
- Import Website Content: Provide URLs for the AI Agent to extract knowledge from specific pages.
For now, let’s import a single page from your website to create a basic Knowledge Base:
- Go to the Knowledge Base
- Click the Add Knowledge button
- Select the Website tab
- Select the Single Page option
- Paste the URL of the page you want to import
- Click Import
Wait a moment until you see a new Article in your Knowledge Base. Later, we’ll test the AI Agent by asking it questions about this page.
Customize behavior and tone of voice
Section titled “Customize behavior and tone of voice”Once you’ve added knowledge, it’s time to customize your AI Agent’s Personality and behavior to match your needs.
AI Personality
Section titled “AI Personality”AI Personality determines the tone and style of your Agent’s responses. Choose a style that aligns with your brand and goals.
If your business is customer-facing and casual, a Classic or Friendly tone might work best.
AI Profession
Section titled “AI Profession”AI Profession allows you to customize your AI Agent’s approach to users, ensuring it aligns with your specific goals. If your priority is to drive immediate sales, you might choose a profession like Shopping Assistant to nudge conversions. If you want to collect feedback or conduct interviews, the Interviewer profession would be a better fit.
Different use cases may require different AI Professions to align with your goals.
Languages
Section titled “Languages”Your AI Agent can speak one or more languages.
- Primary Language
Choose the main language your AI Agent will use, like English, Spanish, or Polish.
- Additional Languages
Add more languages if needed. It will detect the user’s language and respond automatically in the user’s language.
Test with AI Preview
Section titled “Test with AI Preview”After editing the Knowledge Base and Settings, you need to review and accept the changes to ensure everything works as expected.
Here’s how to do it:
- Click the “Retrain AI” button at the top of the interface.
- Wait until Retrain is done, and then click “AI Preview” button in the left sidebar.
- A page will appear, allowing you to test responses from your AI
Go ahead and ask a question about the page you imported before. Check if the answers are accurate and the tone of voice matches what you want.
Deploy & integrate
Section titled “Deploy & integrate”Quickchat AI integrates with various platforms to make your AI Agent accessible where your users are. Deploy it seamlessly across websites, messaging platforms, and other external applications.
You can add the AI Agent to your website with just a few lines of code.
Add an expandable Widget or an iFrame chat window for even easier access:
- Copy the provided embed code from the Channels > Your Website > Install tab in the Quickchat dashboard.
- Paste it into your website’s HTML.
Find step-by-step instructions here:
Need support?
Section titled “Need support?”Whether you’re setting up your first AI Agent or refining an existing one, we’re here to help. Click Help in the interface and select one of the available options to access support anytime.
- 💬 Prefer a live chat? Start chatting with our dedicated support AI Agent to get instant help.
- 💌 Prefer email? Send us a message.
- 🛠️ Prefer having someone set up your AI Agent for you? Schedule a session with one of our AI experts to discuss a Custom solution.
We’re here to make your experience smooth and hassle-free!