Capabilities
Human Handoff
Section titled “Human Handoff”The Human Handoff feature ensures that conversations requiring human attention are seamlessly transferred to a Human Agent.
It is particularly useful for handling questions beyond the AI Agent’s Knowledge Base or when users explicitly request to speak to a person. During Human Handoff, the AI Assistant pauses, and the Human Agent takes over the conversation via the Inbox.
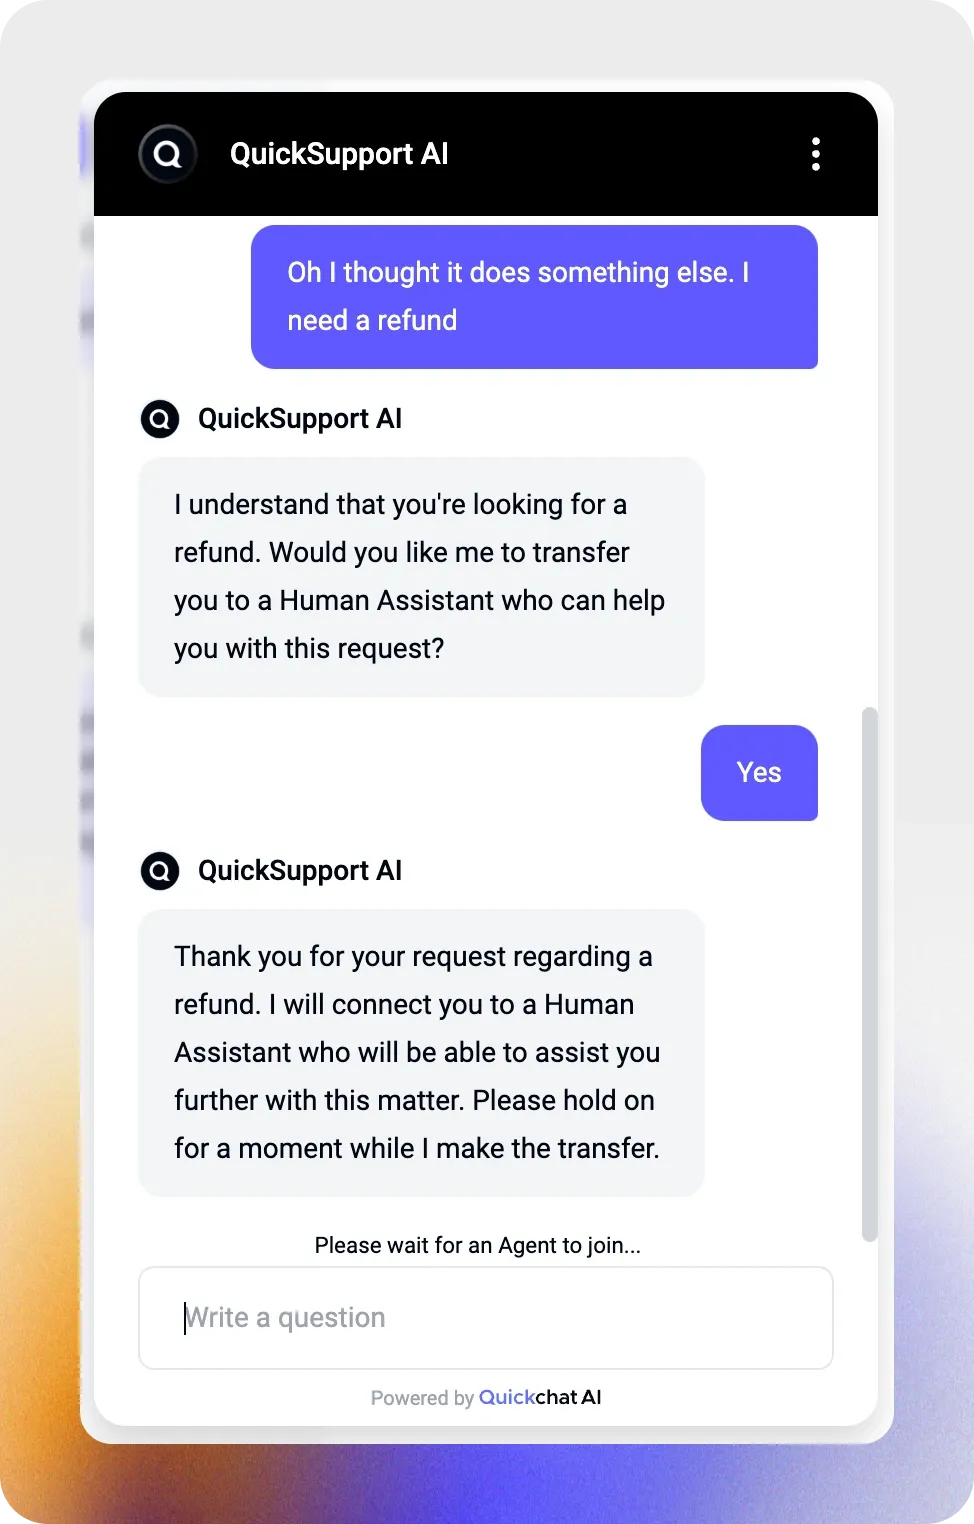
Here’s what happens on the user’s side:
- The user interacts with the AI Assistant.
- If the request is beyond the AI’s capability or the user explicitly requests a human, the AI notifies the user about the transfer.
- The conversation is unassigned from the AI and assigned to a Human Agent.
- The Human Agent resolves the query or reassigns the AI Assistant to continue.
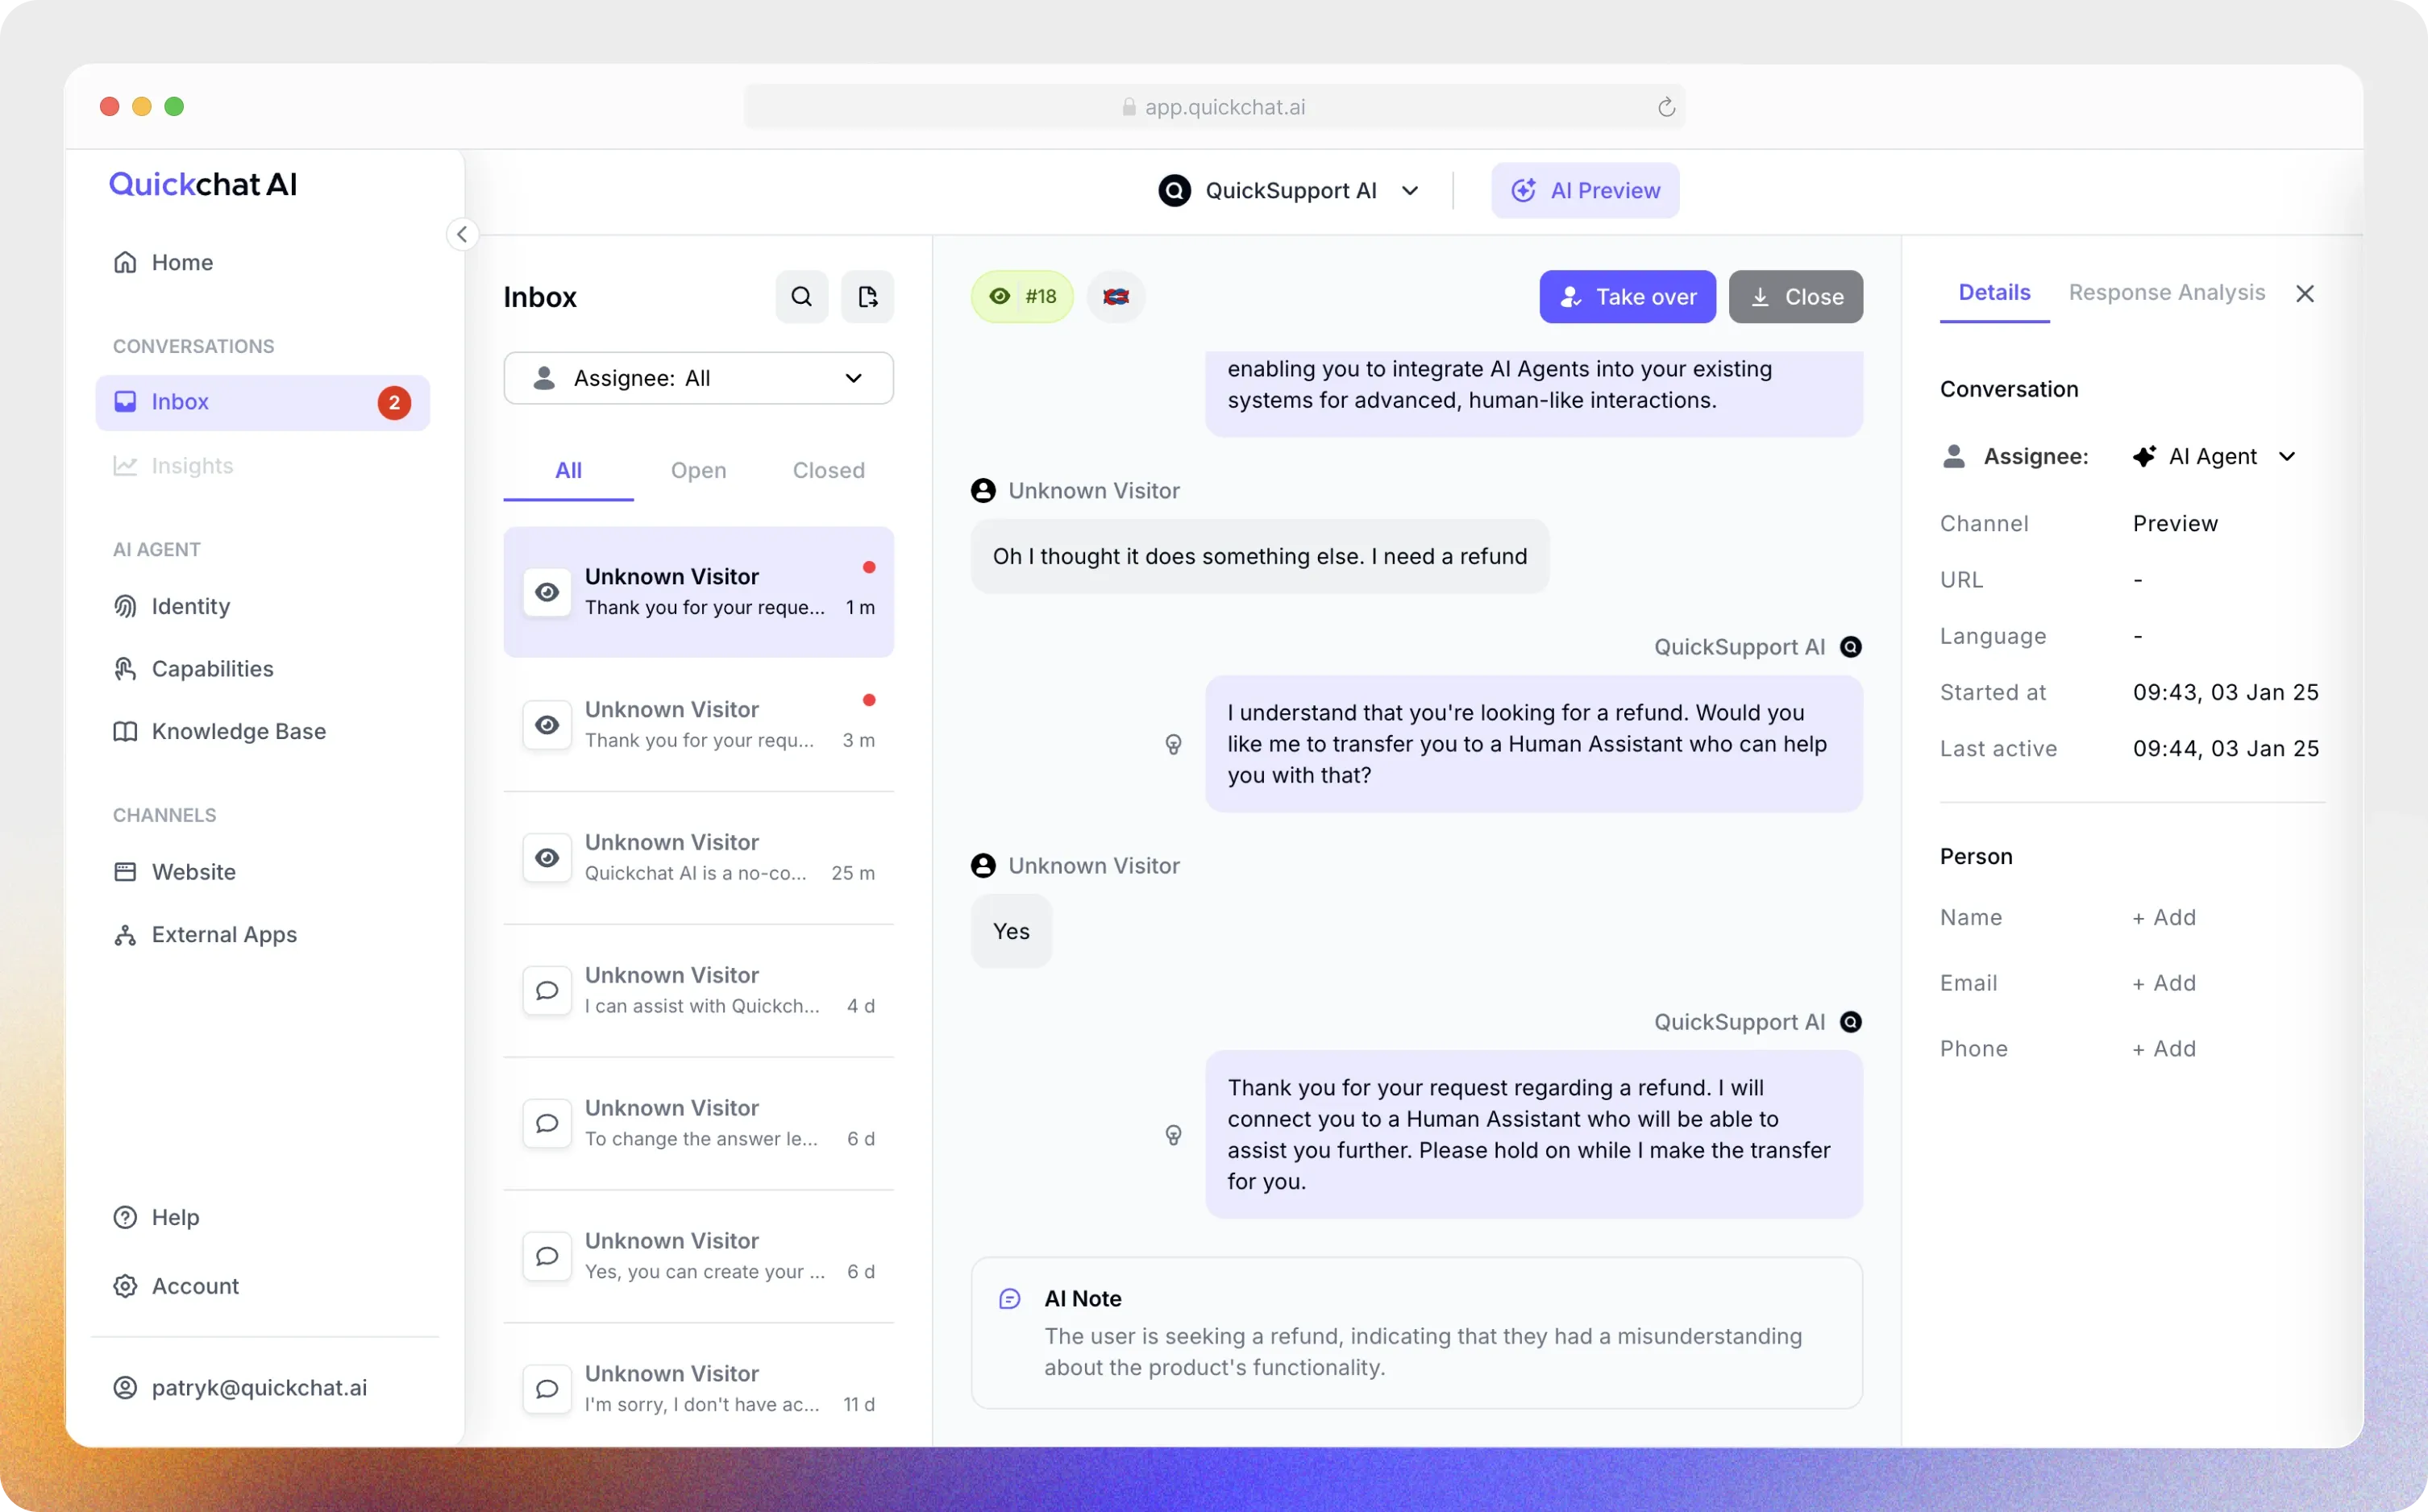
And here’s what you’ll see inside the Quickchat AI interface:
- The unassigned conversation appears in the Inbox.
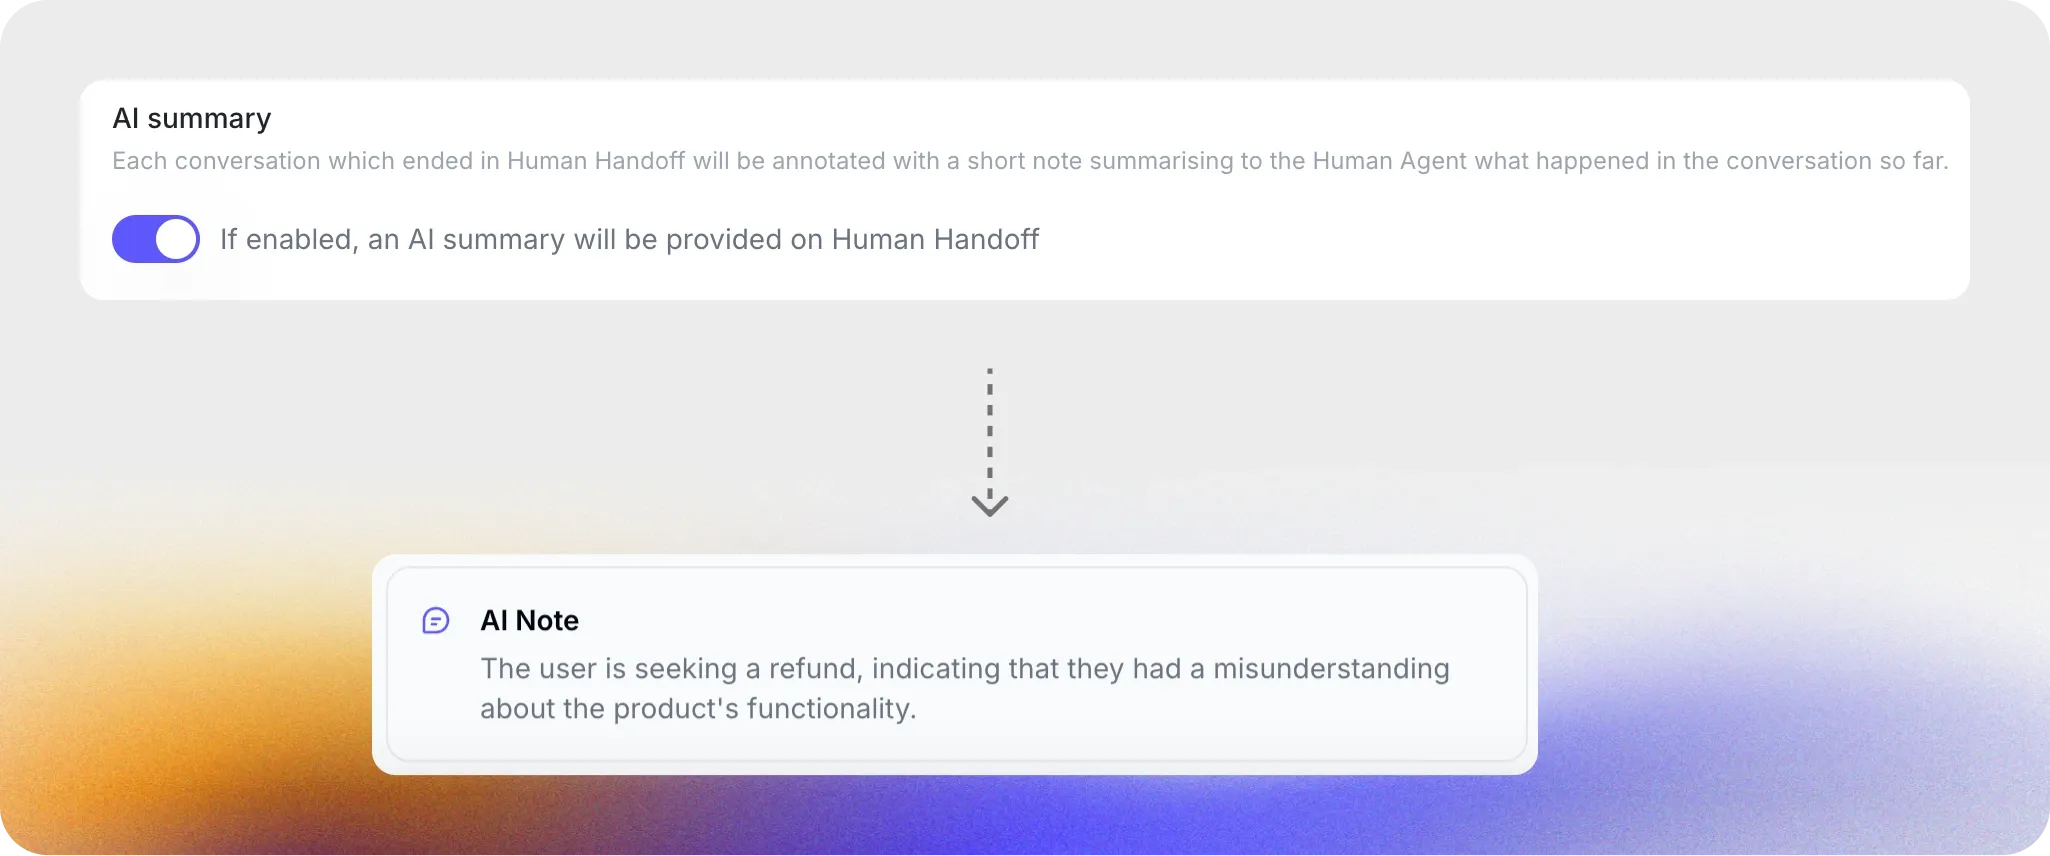
- Your team member reviews the AI Summary to understand the conversation so far.
- The team member takes over the conversation and handles the user’s request.
- The team member either marks the conversation as resolved or reassigns.
Enable Human Handoff
Section titled “Enable Human Handoff”Navigate to the Capabilities > Human Handoff tab and enable it by toggling the switch to “on.”

You can then configure the following options:
Human Agent’s Availability
Define the availability of Human Agents to ensure that Handoff requests are only initiated during working hours.
- Specify Working Hours: Set start and end times and select working days.
- Select Time Zone: Ensure the schedule matches your region.
- Configure an Out-of-Hours Message: Let users know when no Human Agents are available.

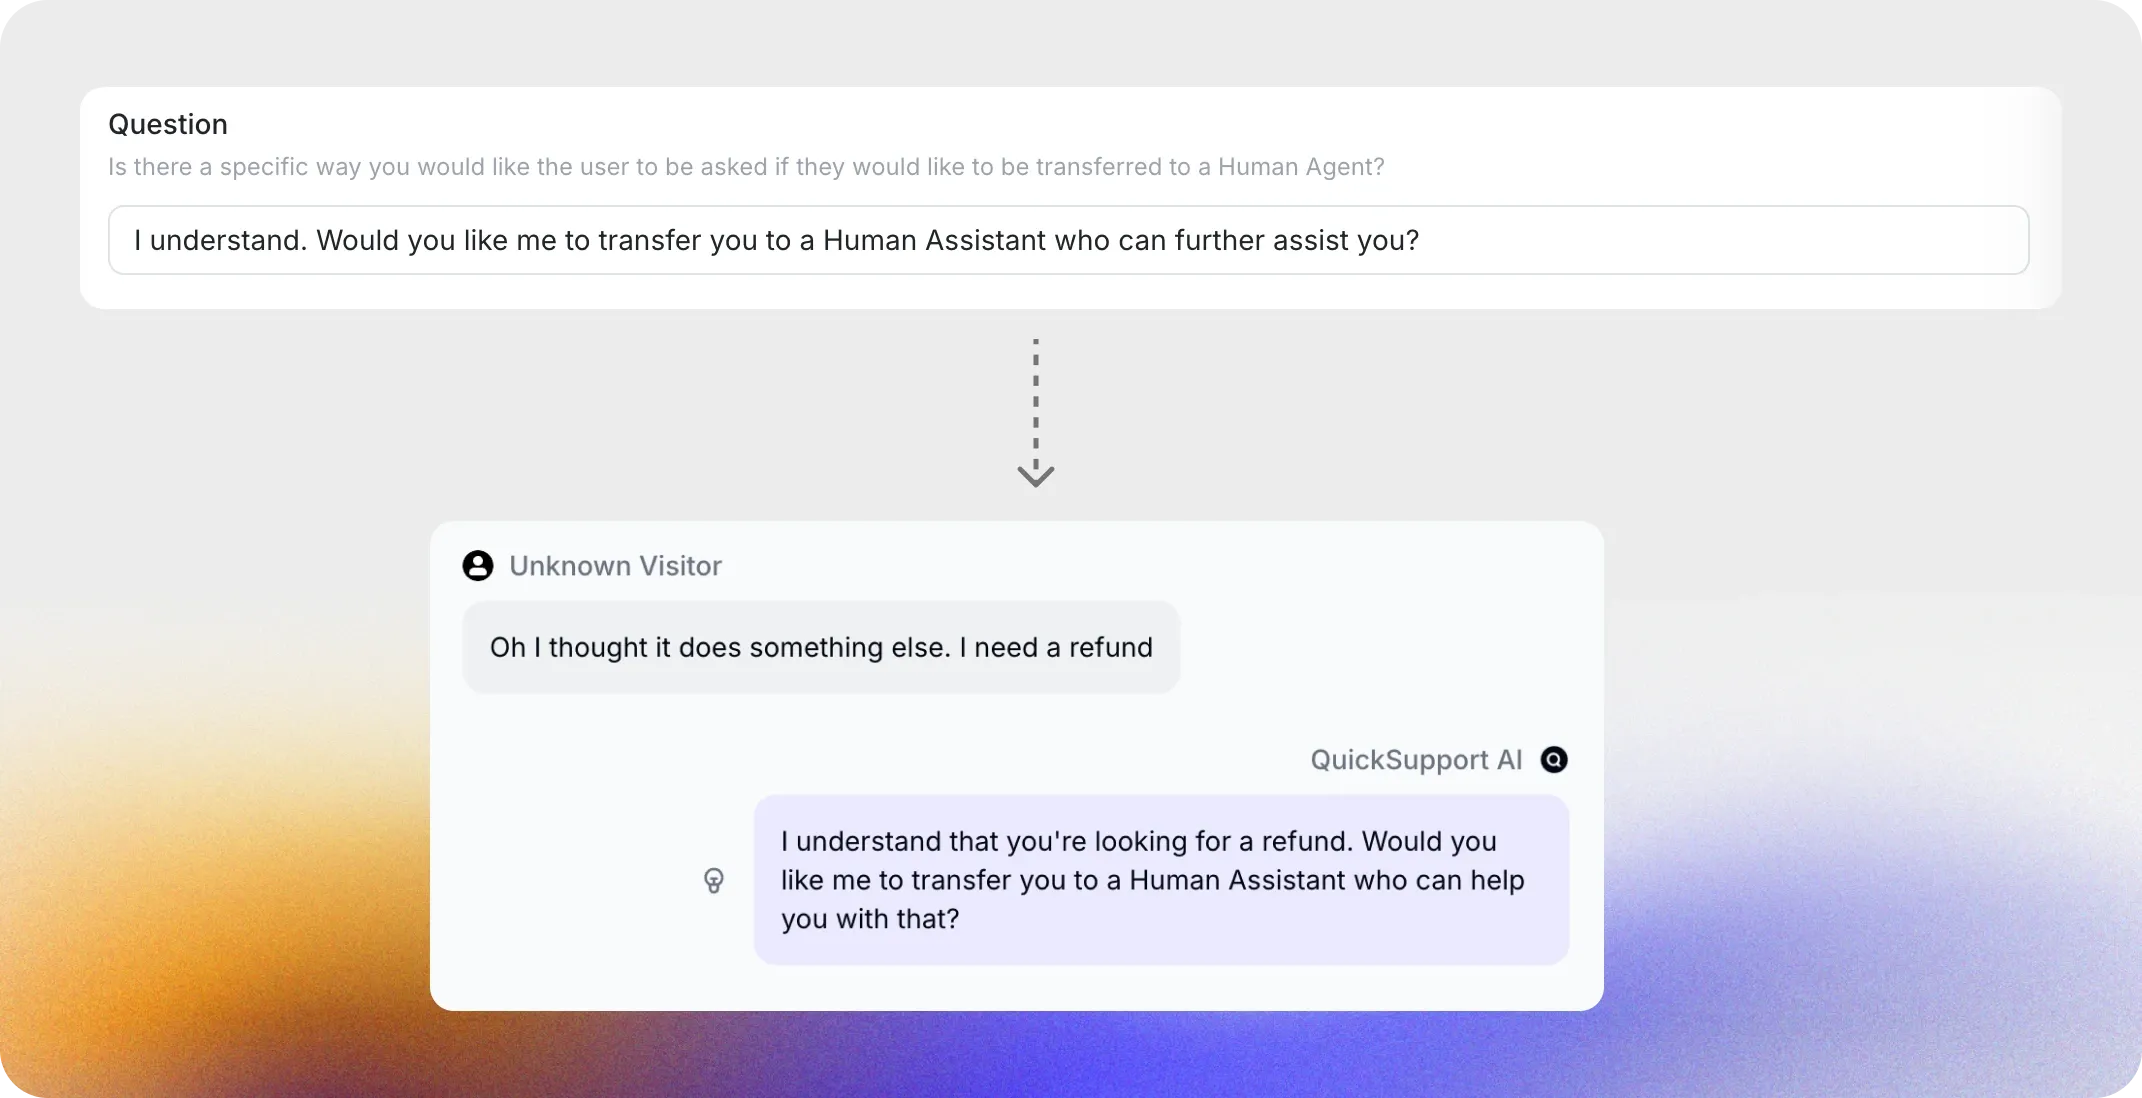
Question
Section titled “Question”Define the question the AI will ask before initiating Handoff.
Example: Would you like me to connect you with our Customer Support team?
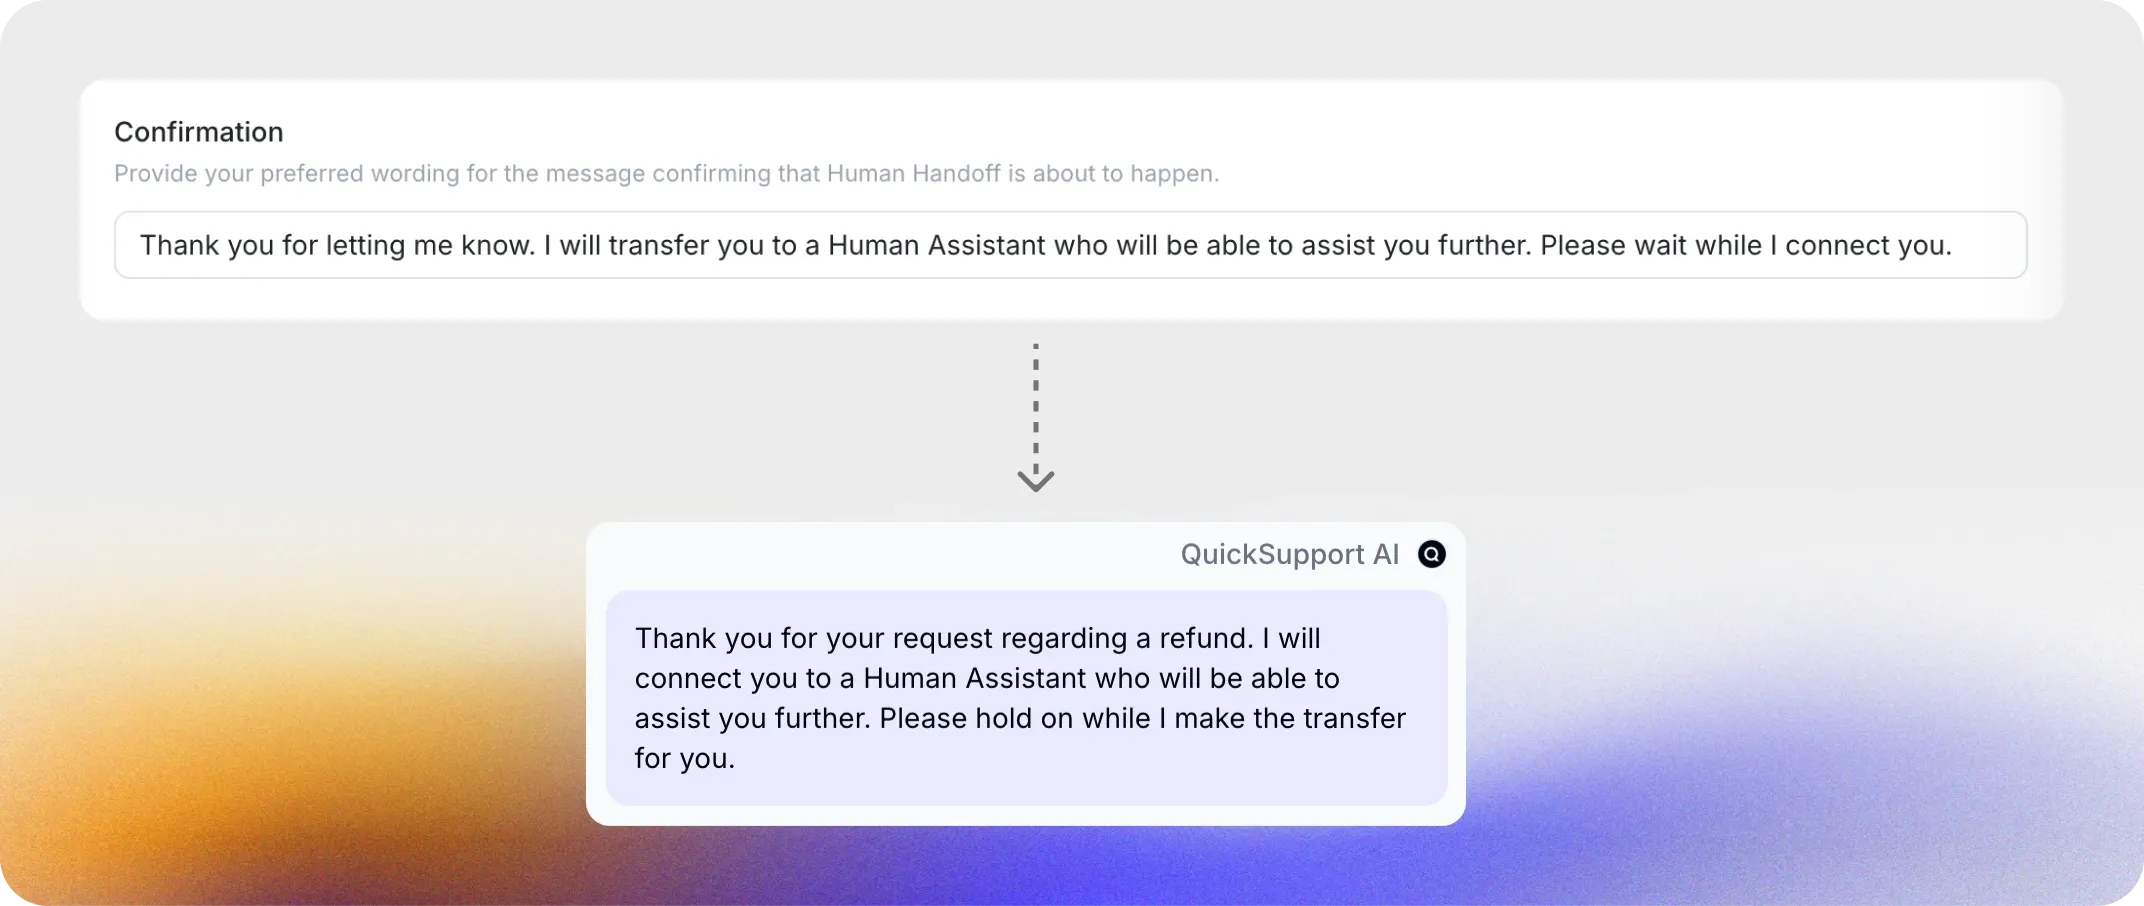
Confirmation
Section titled “Confirmation”Specify the confirmation message sent when the Handoff is initiated.
Example: I understand. I will transfer you to our Customer Support team. Please wait while I connect you.
AI Summary
Section titled “AI Summary”Enable AI Summaries to automatically generate a short note summarizing the conversation so far. This summary provides the Human Agent with all the context needed to quickly address the user’s request.
(Optional) Set Trigger Keywords
Section titled “(Optional) Set Trigger Keywords”You can input specific keywords that will always trigger a Human Handoff.
However, if you know certain keywords that should always lead to Handoff, you can define them here to ensure consistent handling.
Example: For MacShop’s AI Assistant, Helpful Macintosh, keywords like “invoice,” “receipt,” and “delivery status” can be added. These are common cases that the AI Assistant is not authorized to handle and should always be transferred to a Human Agent.

This ensures that important user requests are escalated immediately and handled appropriately by your support team.
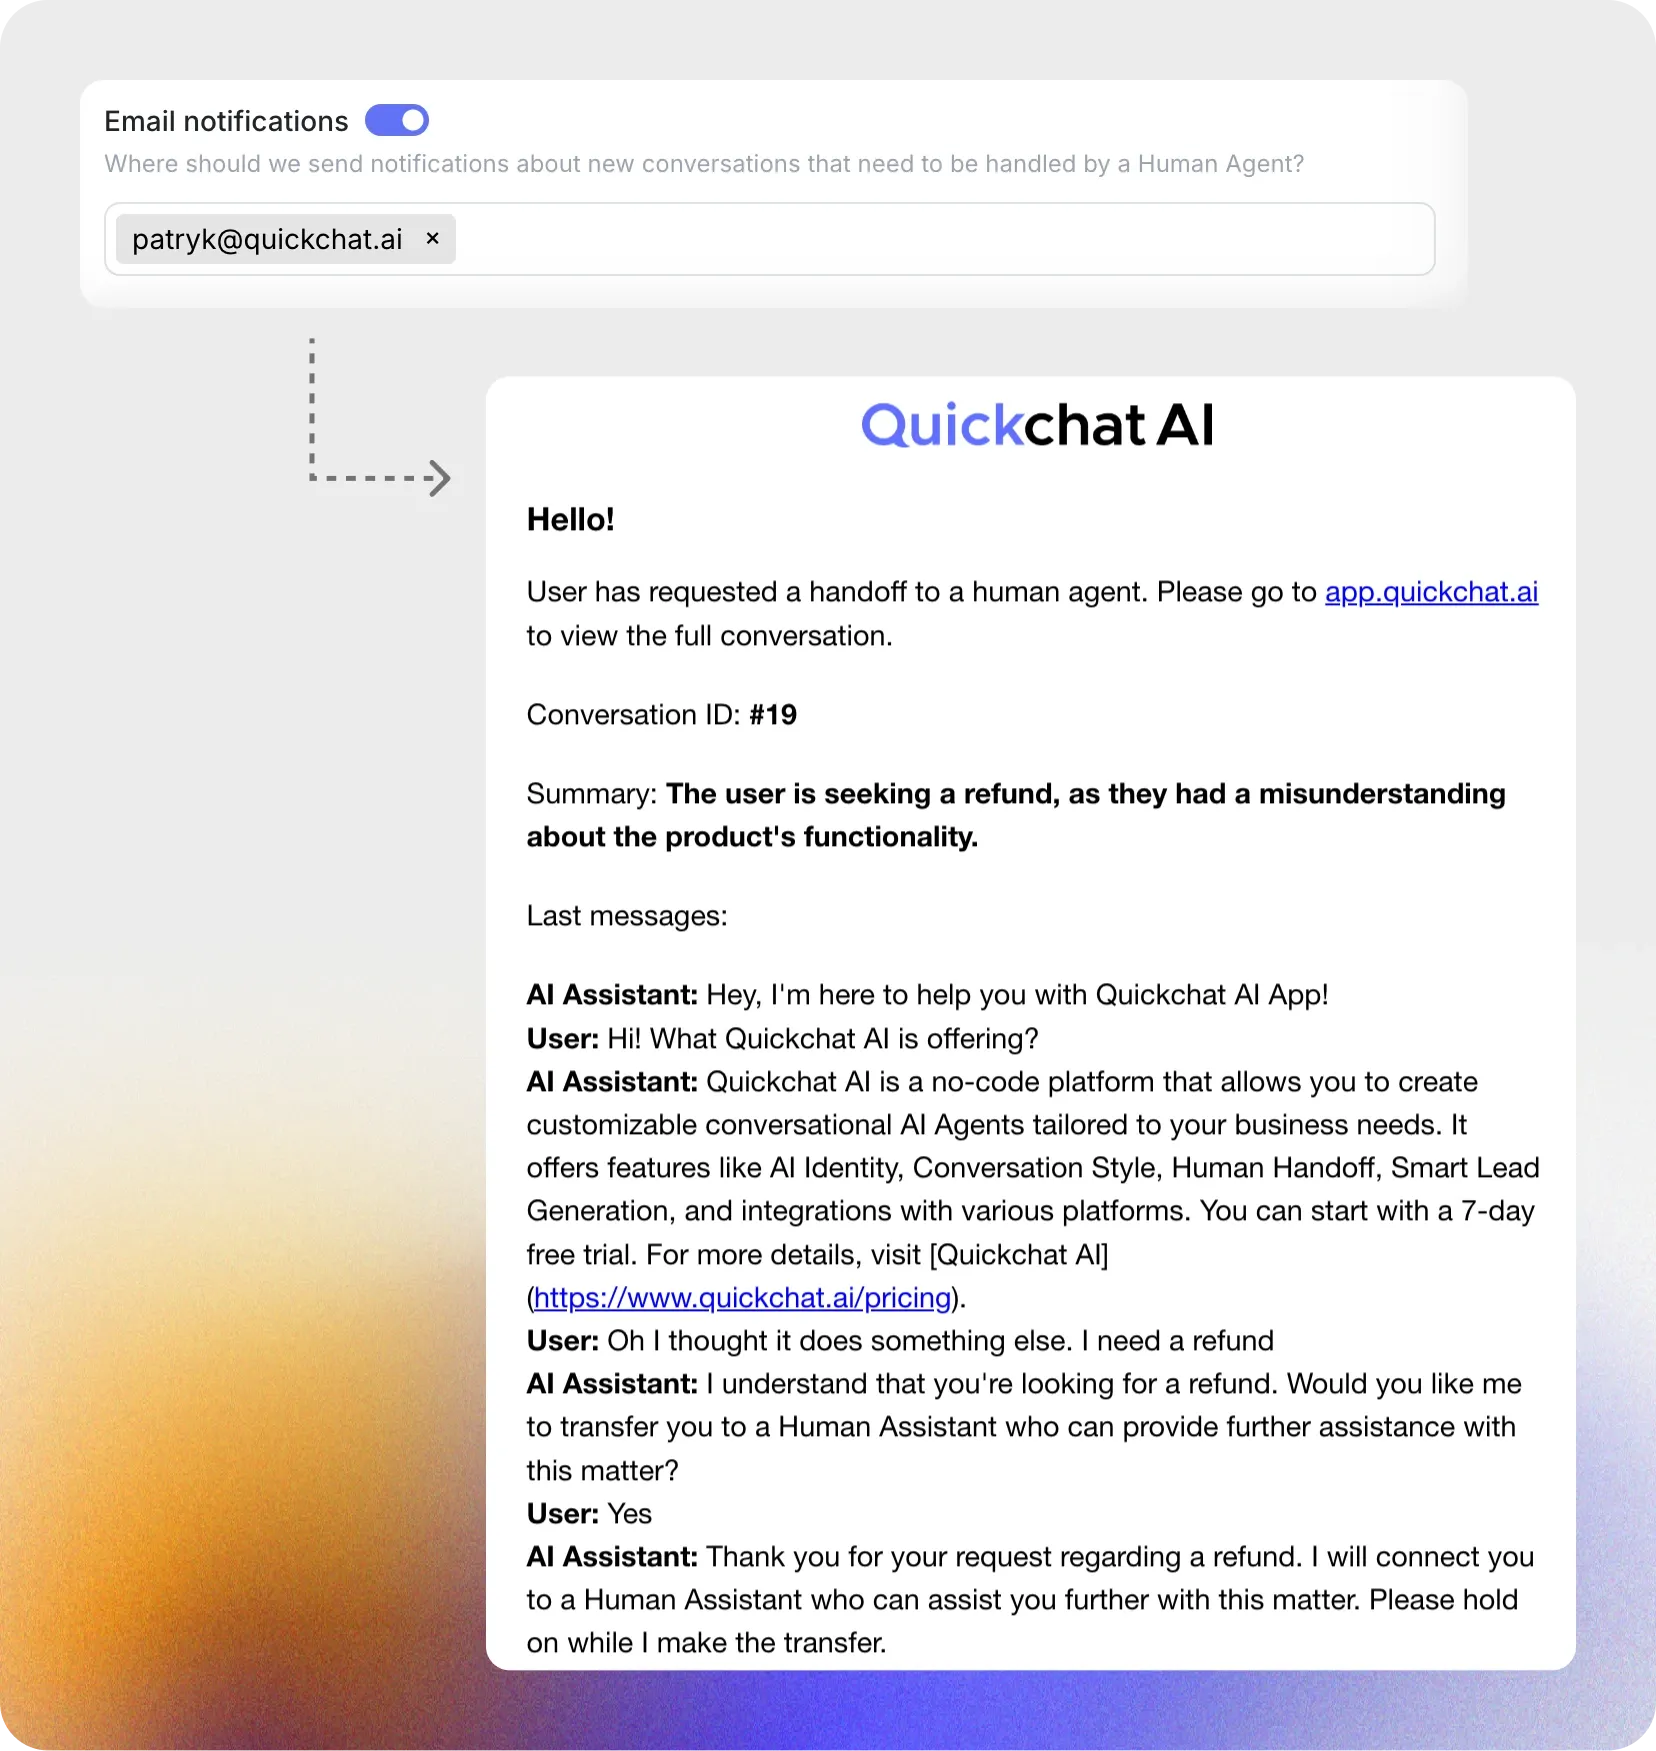
Email Notifications
Section titled “Email Notifications”Configure email addresses to receive notifications when a new conversation requires a Human Handoff.
Here’s how it looks:
