Intercom
Overview
In this guide, we'll go through how to integrate your AI Assistant into Intercom. Here's an overview of what we'll cover:
- Preparing the Intercom Account for integration
- Integrating Quickchat AI with Intercom
- Adding the Quickchat AI Assistant to Intercom
Prepare your Intercom Account
Create an Intercom User dedicated to your AI
To initiate the integration process, you’ll need to designate an Intercom user who will be serving as the persona for AI Assistant. Our AI will be replying as this user to all conversations that are assigned to it.
To ensure a seamless experience, we recommend creating a separate user named ‘Quickchat AI’ to handle automatic replies. This approach provides flexibility of choosing when the AI Assistant is active and lets your team take over the conversation by assigning it to a different team member. Here’s how to do that:
- Create the Quickchat AI User: Log in to your Intercom account and create a new user with the name 'Quickchat AI.'
- Define Permissions/Access: Configure specific permissions and access rights for the 'Quickchat AI' user to ensure it functions correctly.
Once you've completed this setup, you're ready to move on to the next step.
Ensure that you are logged in as dedicated User while proceeding with the next steps of integration.
Integrate Quickchat with Intercom
Navigation
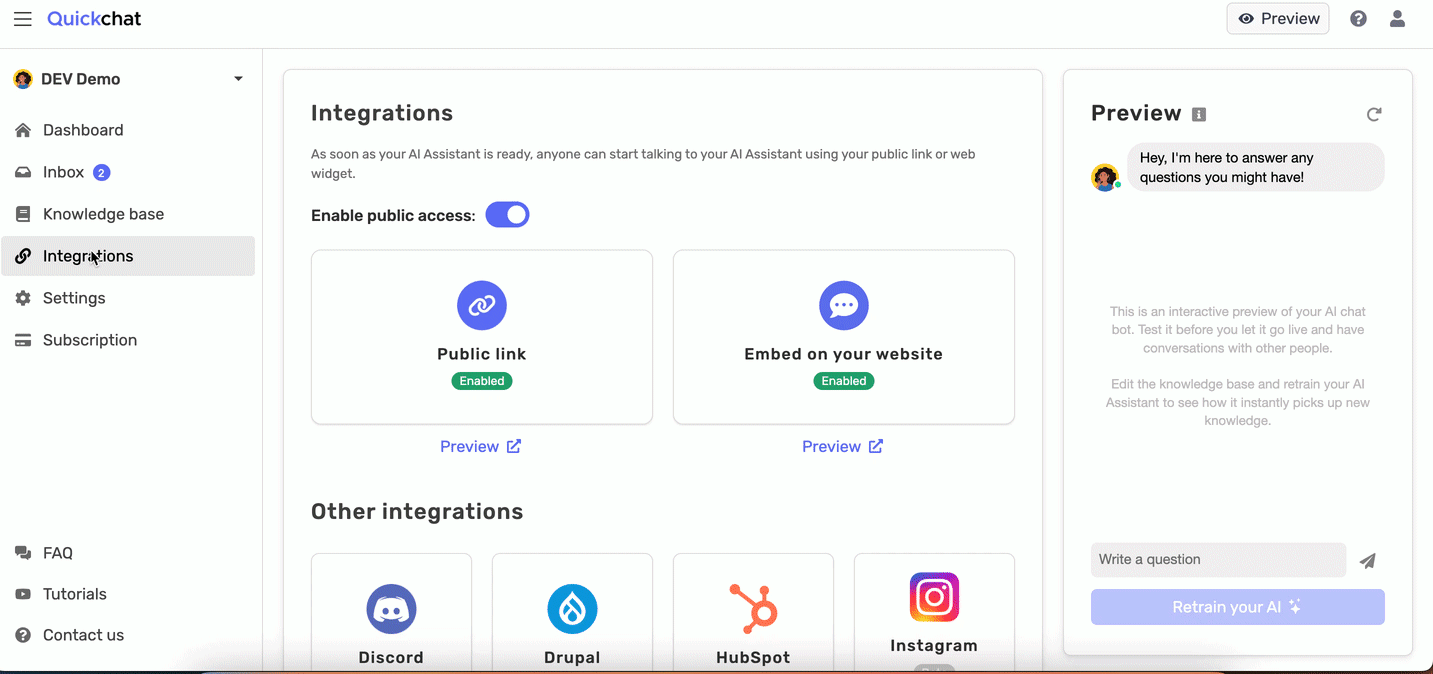
Go to Intergrations tab, locate and click on the "Intercom" icon:
Authentication
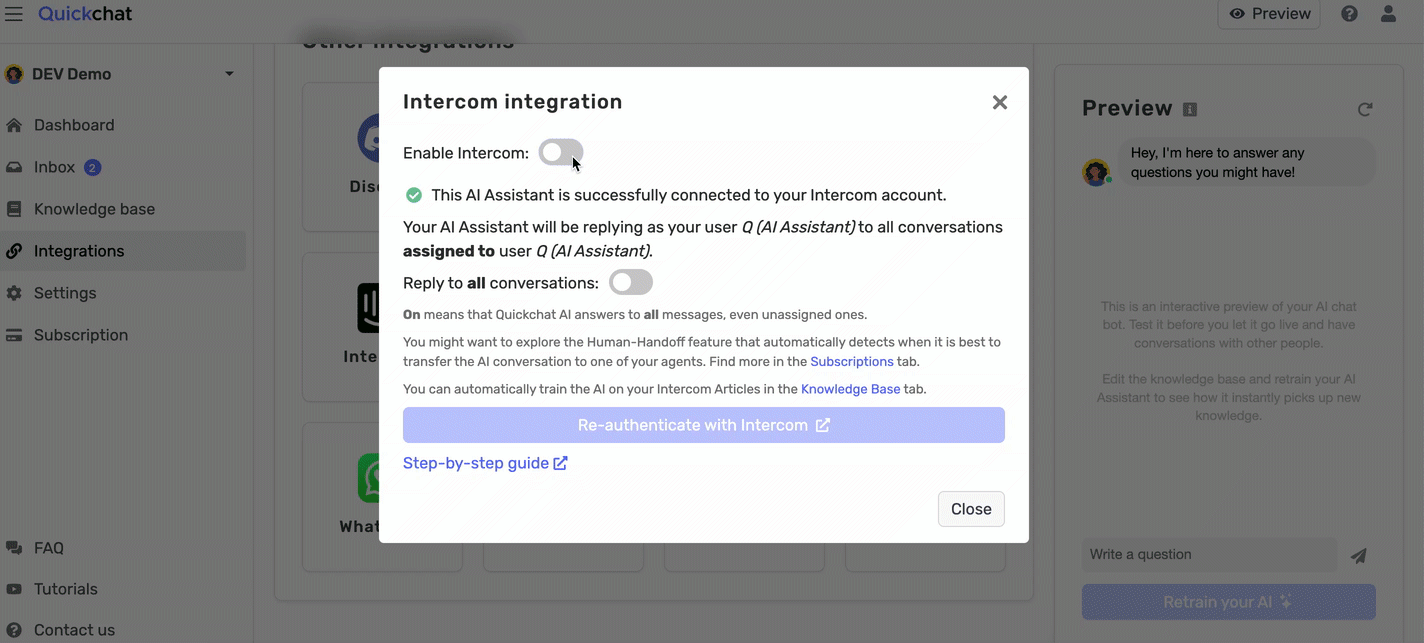
Click the option to enable the Intercom integration and then click “Authenticate”. You will be redirected to Intercom's authorization page. Click "Authorize" to grant the AI Assistant access to your Intercom workspace.
Confirmation
Confirm the integration is successful by the status of it after clicking Intercom icon again.
If you see this message, you did it! Congratulations! Your integration is now live, and you can proceed to the next step to assign conversations in Intercom to your AI Assistant.
Assign conversations in Intercom to Quickchat AI Assistant
There are two steps to assiging Intercom conversations to your Quickchat AI Assistant for handling.
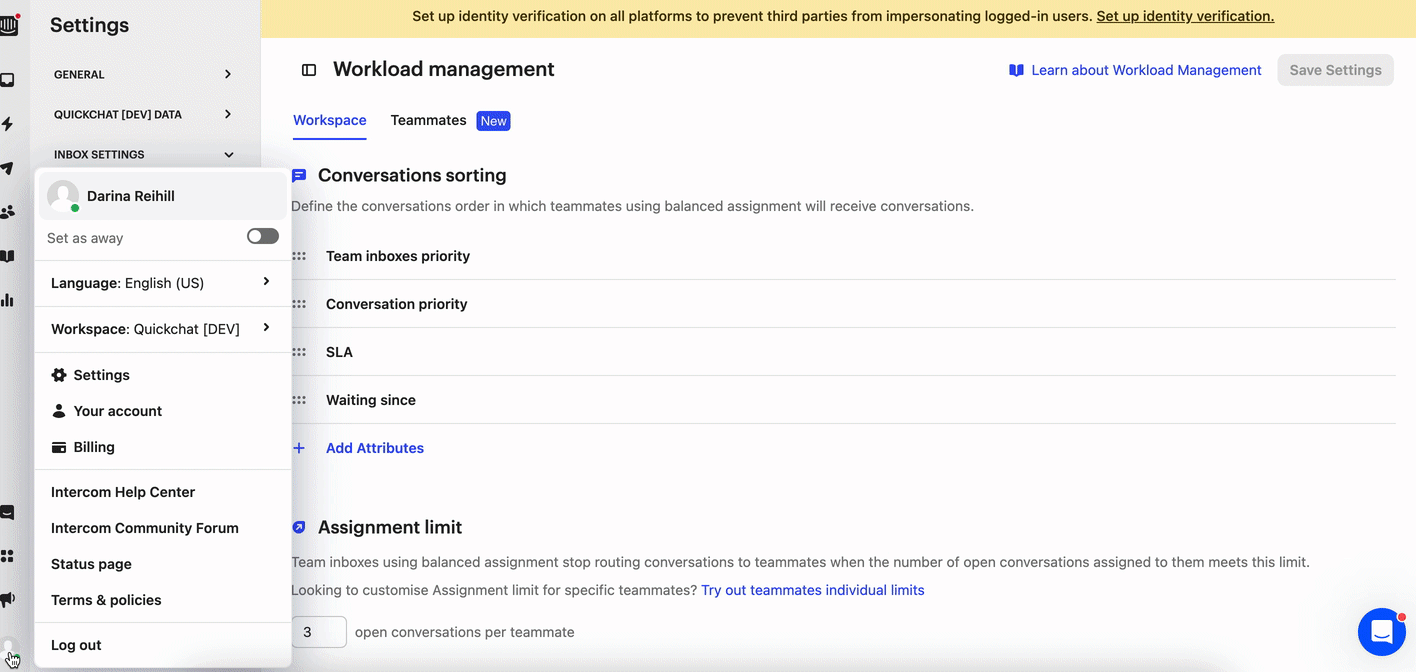
Workload Management
Navigate to Settings tab then to Inbox settings and add the Quickchat AI Assistant to the Workload Management.
Workflow Automation
Navigate to the Automation tab, and click on Create new workflow (“Customer starts a new message").

Once you're at workflow, we set up a workflow automation. We assign it to the Intercom user you've created for Quickchat Assistant.

That’s it! 🎉 Your integration is now complete!
As a final verification of your integration, send a message to your Intercom chat window. You should get a reply from your AI Assistant and the conversation should appear in the Inbox in the Quickchat AI App.